Module 3 Formstorming
Arhielle Nieto
Project 3
Module 3
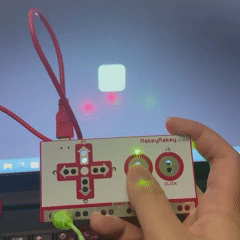
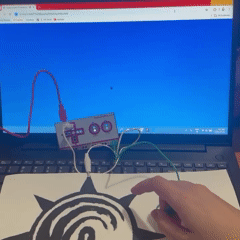
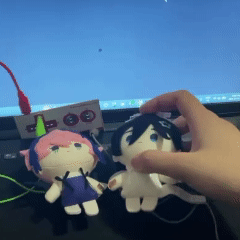
Exploring touch using P5 & the Makey Makey
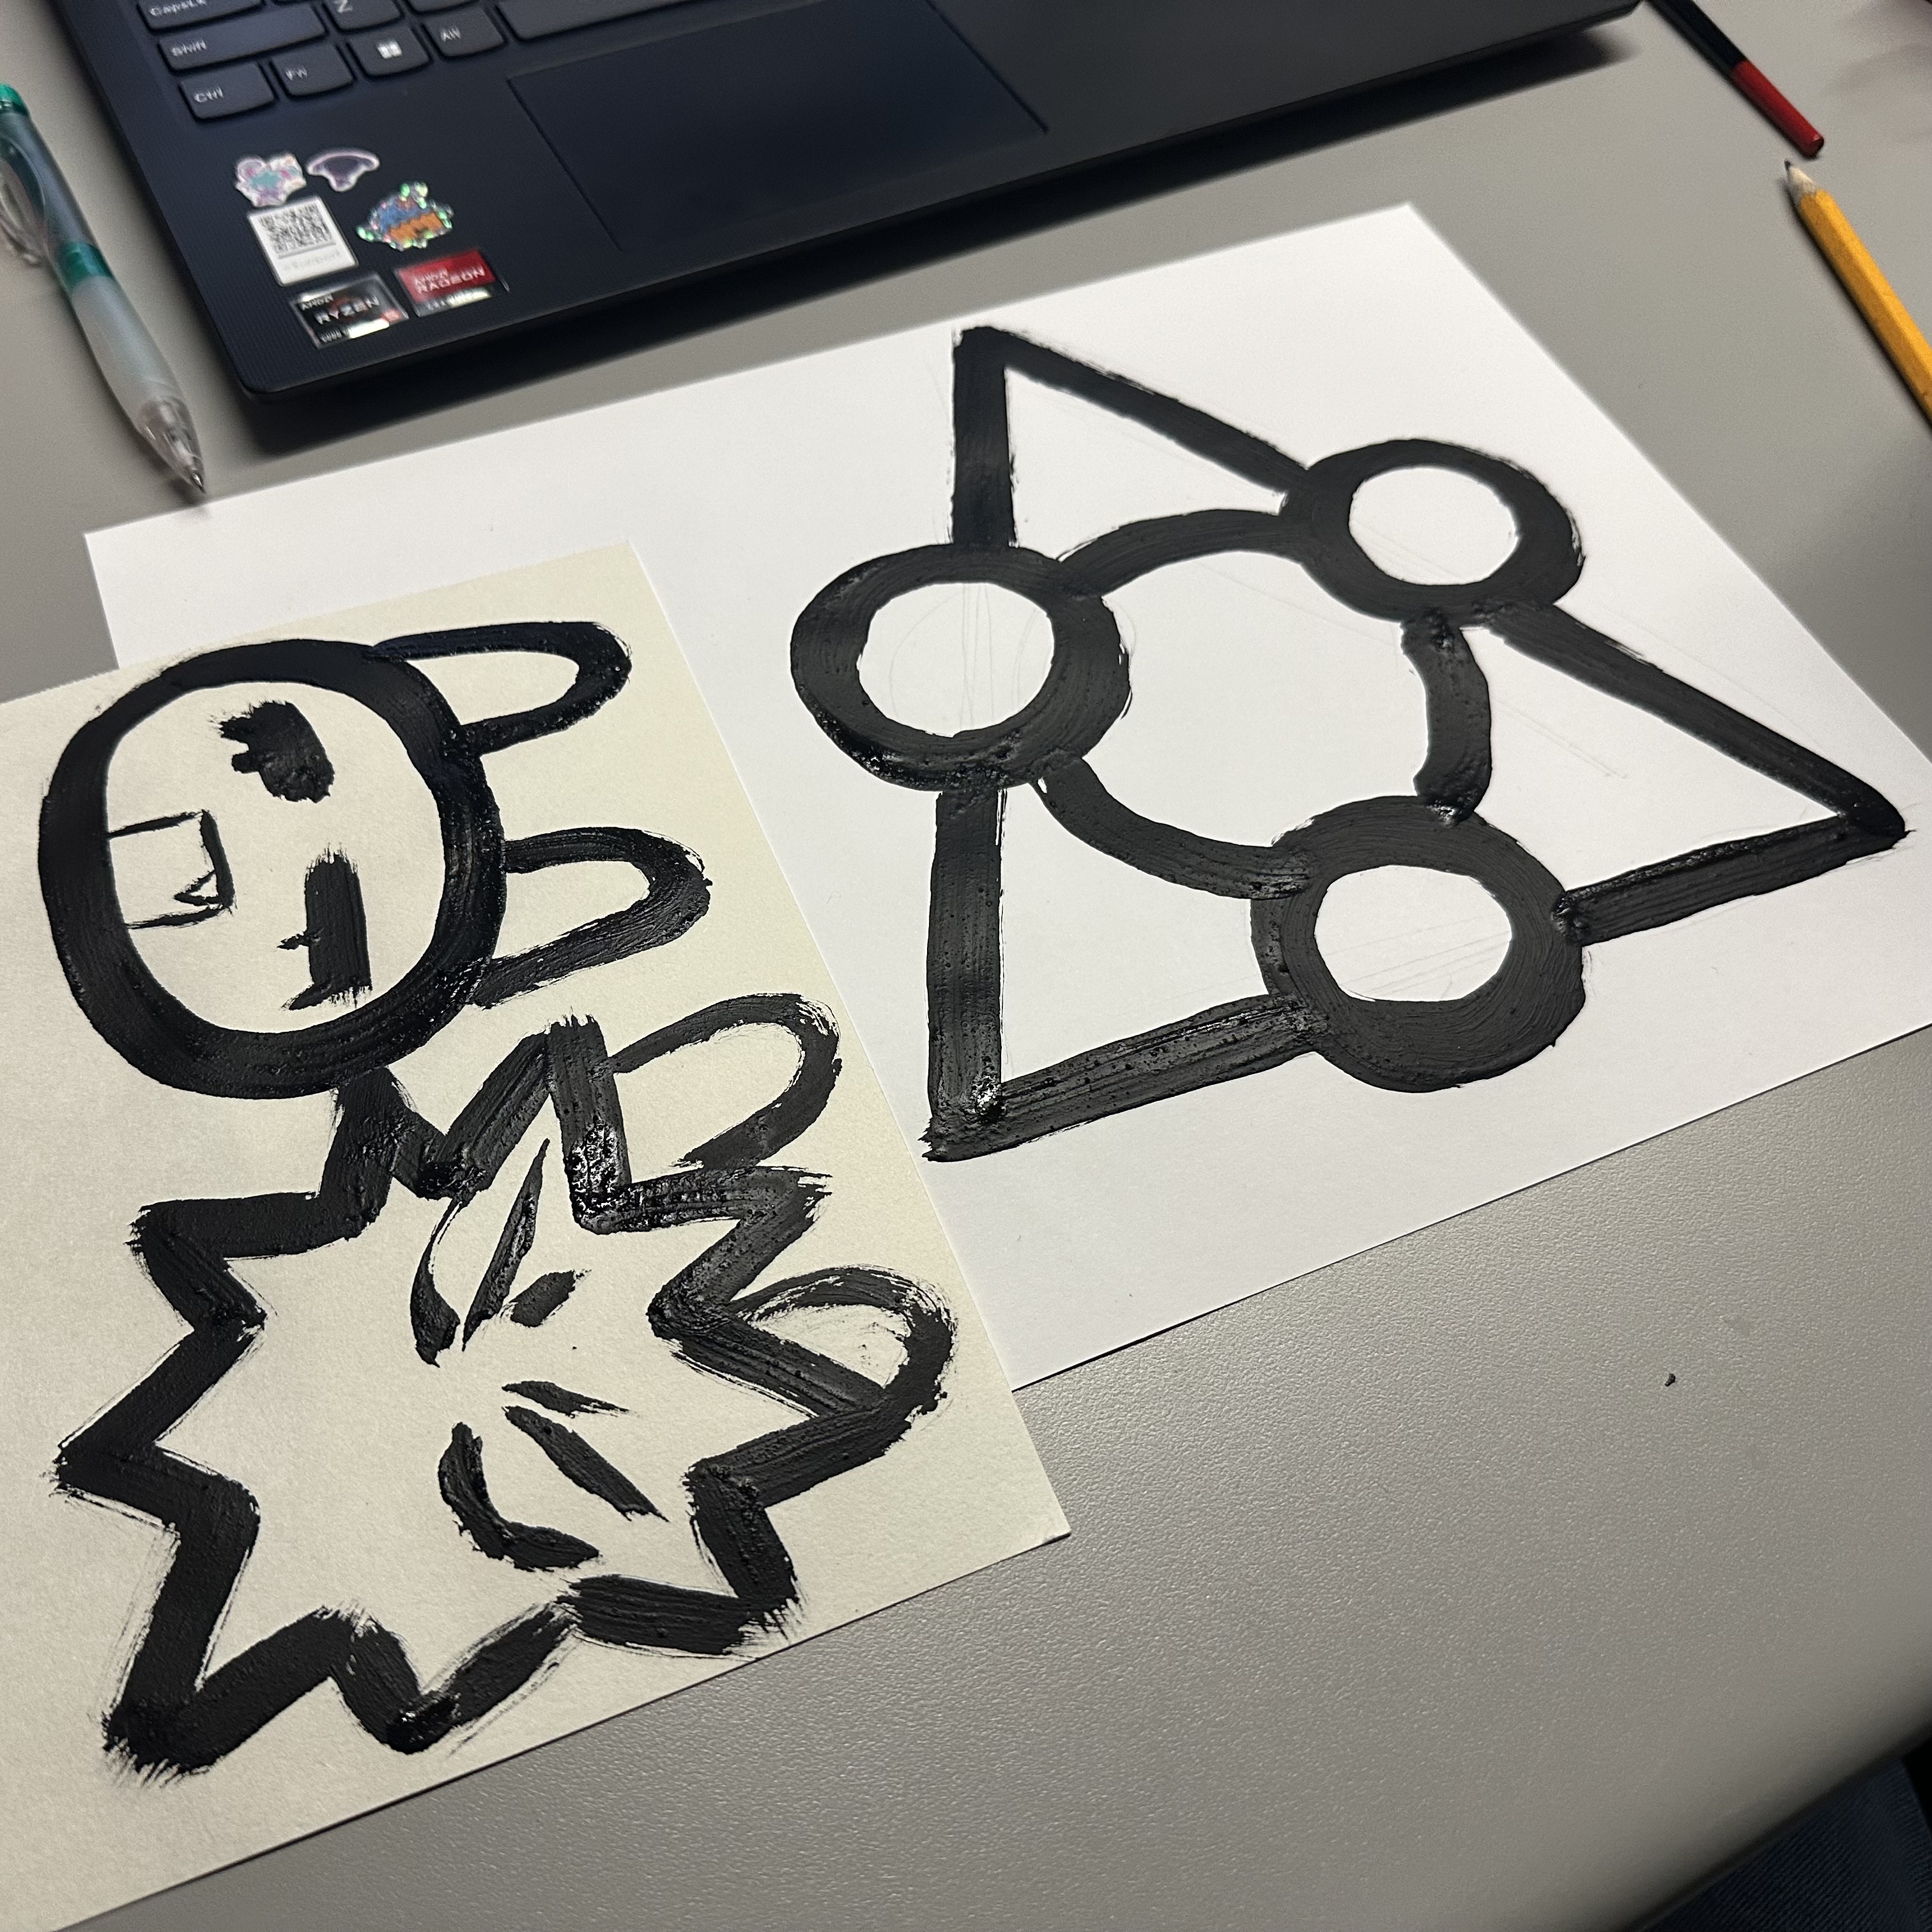
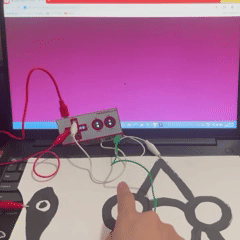
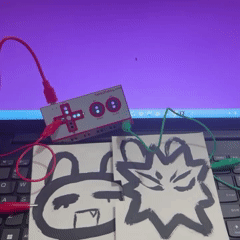
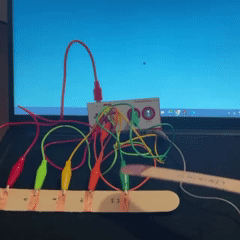
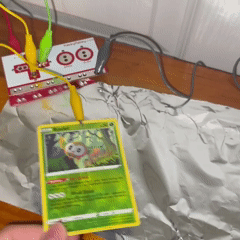
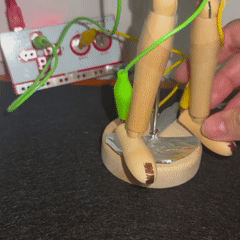
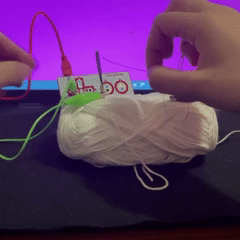
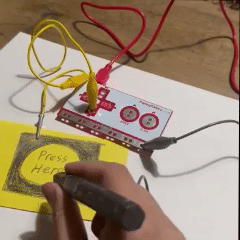
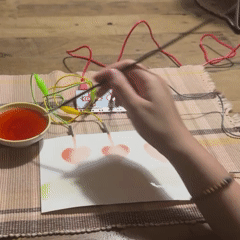
Activity 1
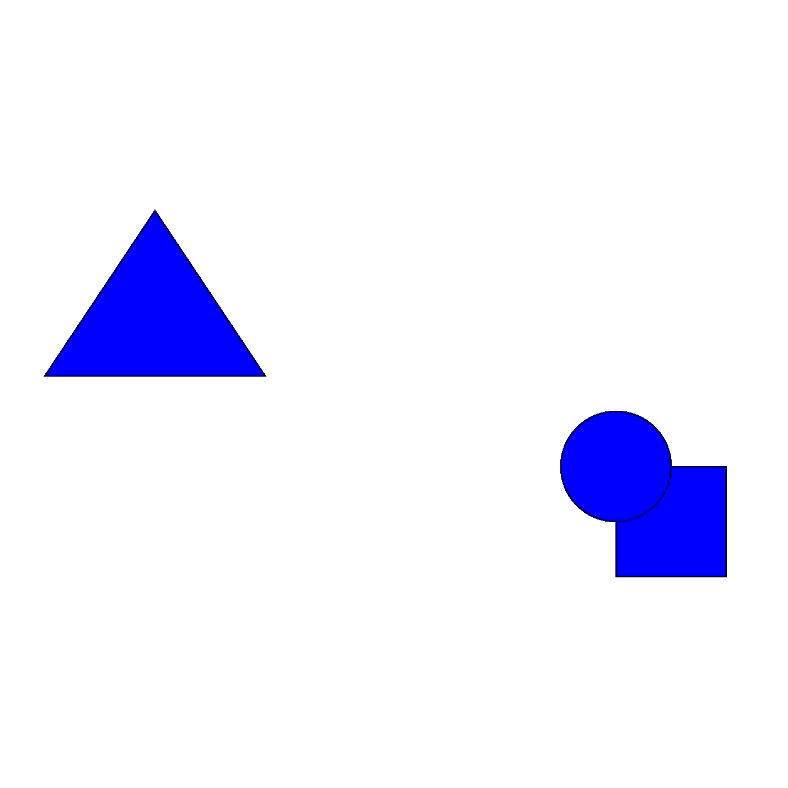


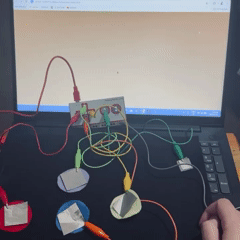
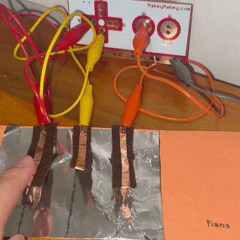
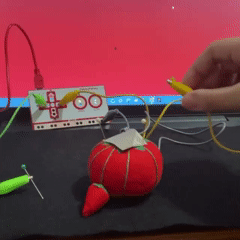
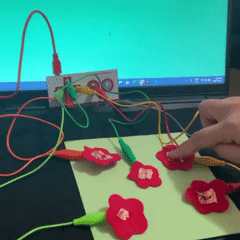
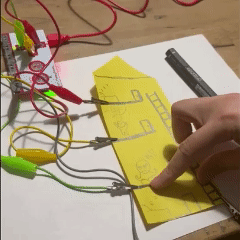
Activity 2
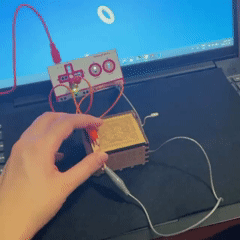
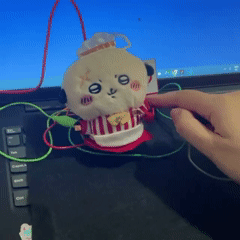

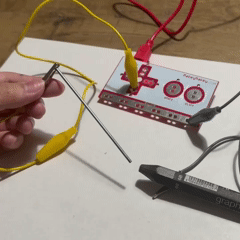
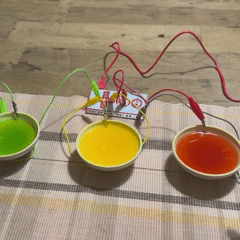
Project 3
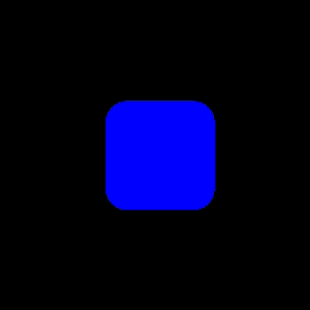
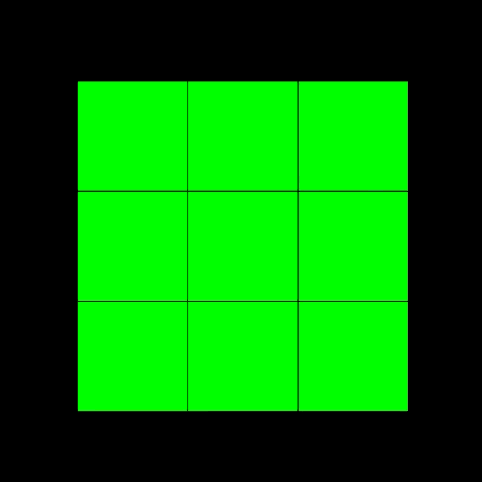
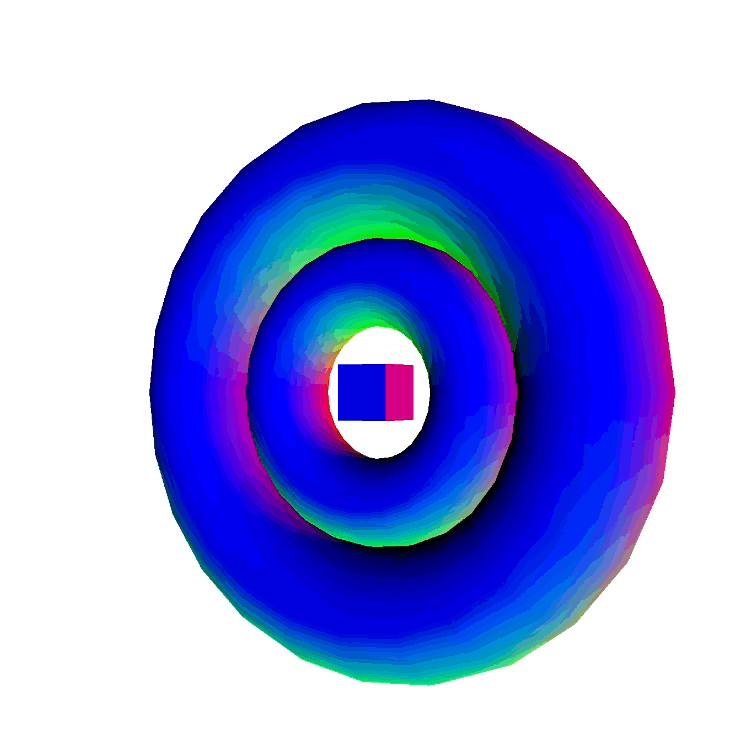
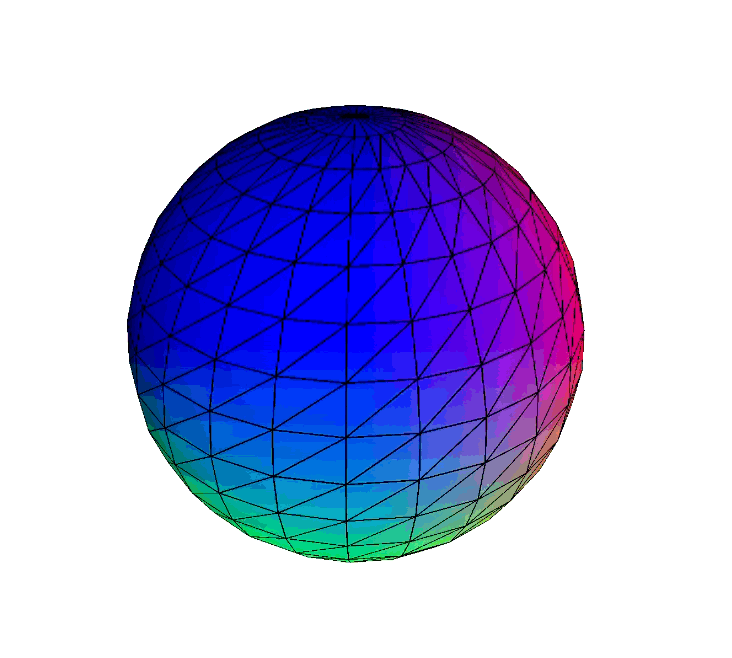
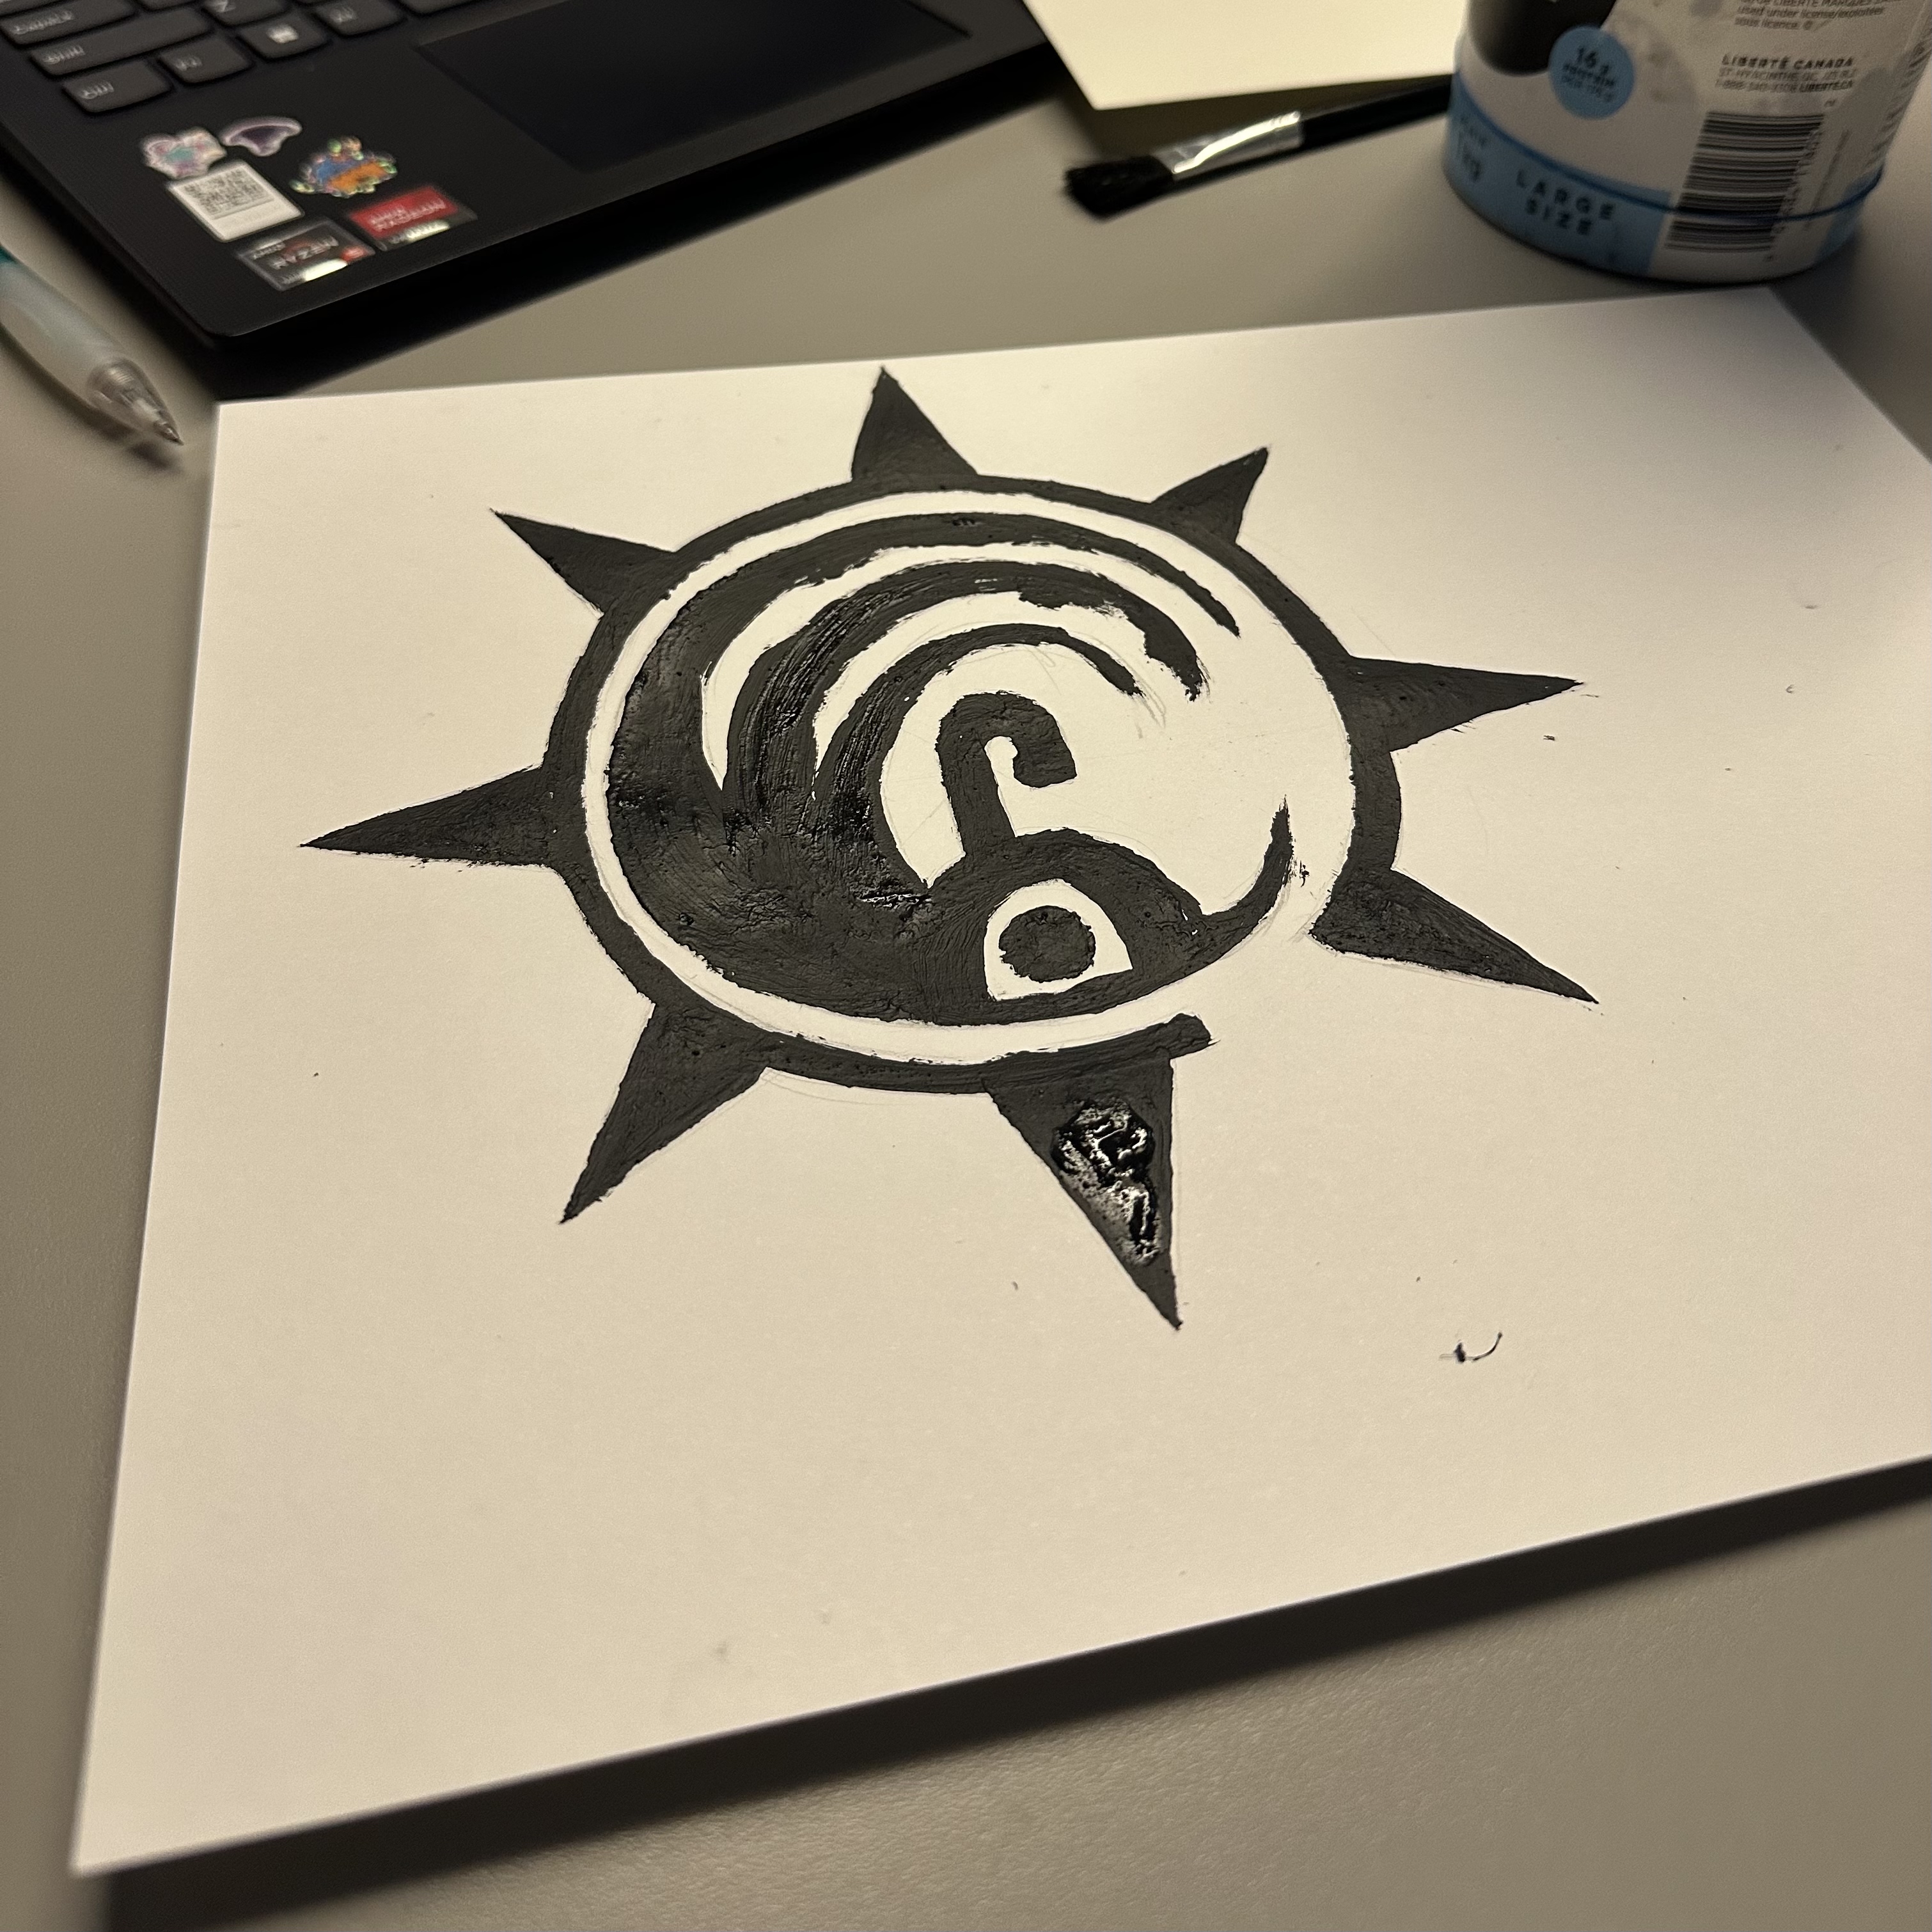
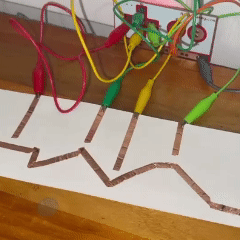
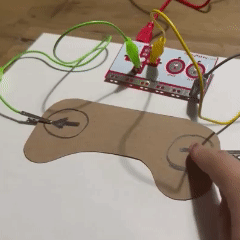
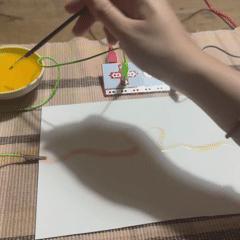
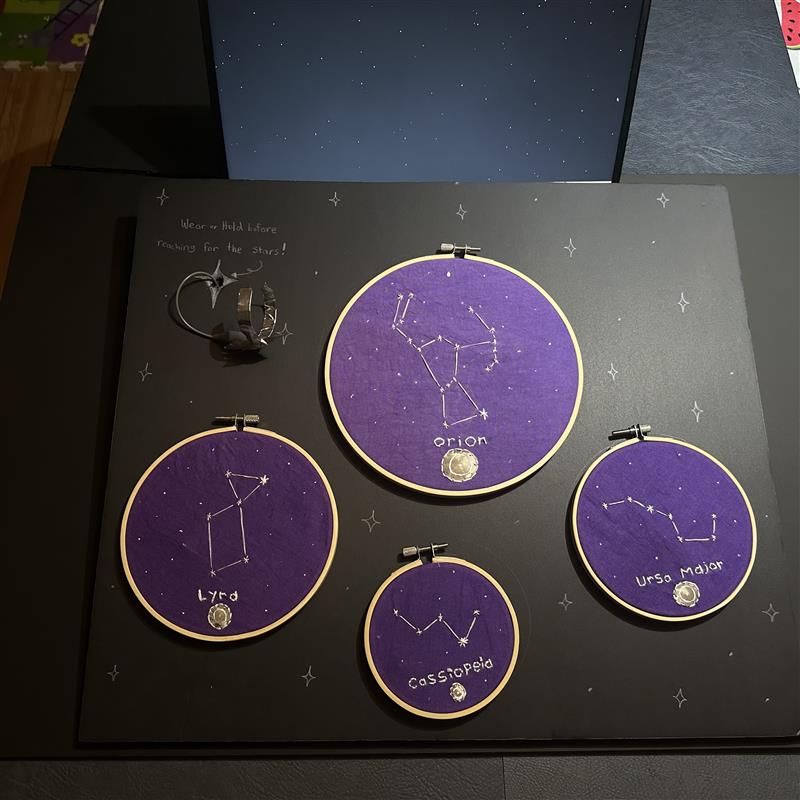
Final Project 3 Design
Star gazing is the title and central theme to my final project
 "
"
Powered by w3.css